Create a digital menu board in Canva
Canva is a very popular online tool that allows you to create free content for digital signage. In this step-by-step guide we will be creating a digital menu board, so let’s get started.
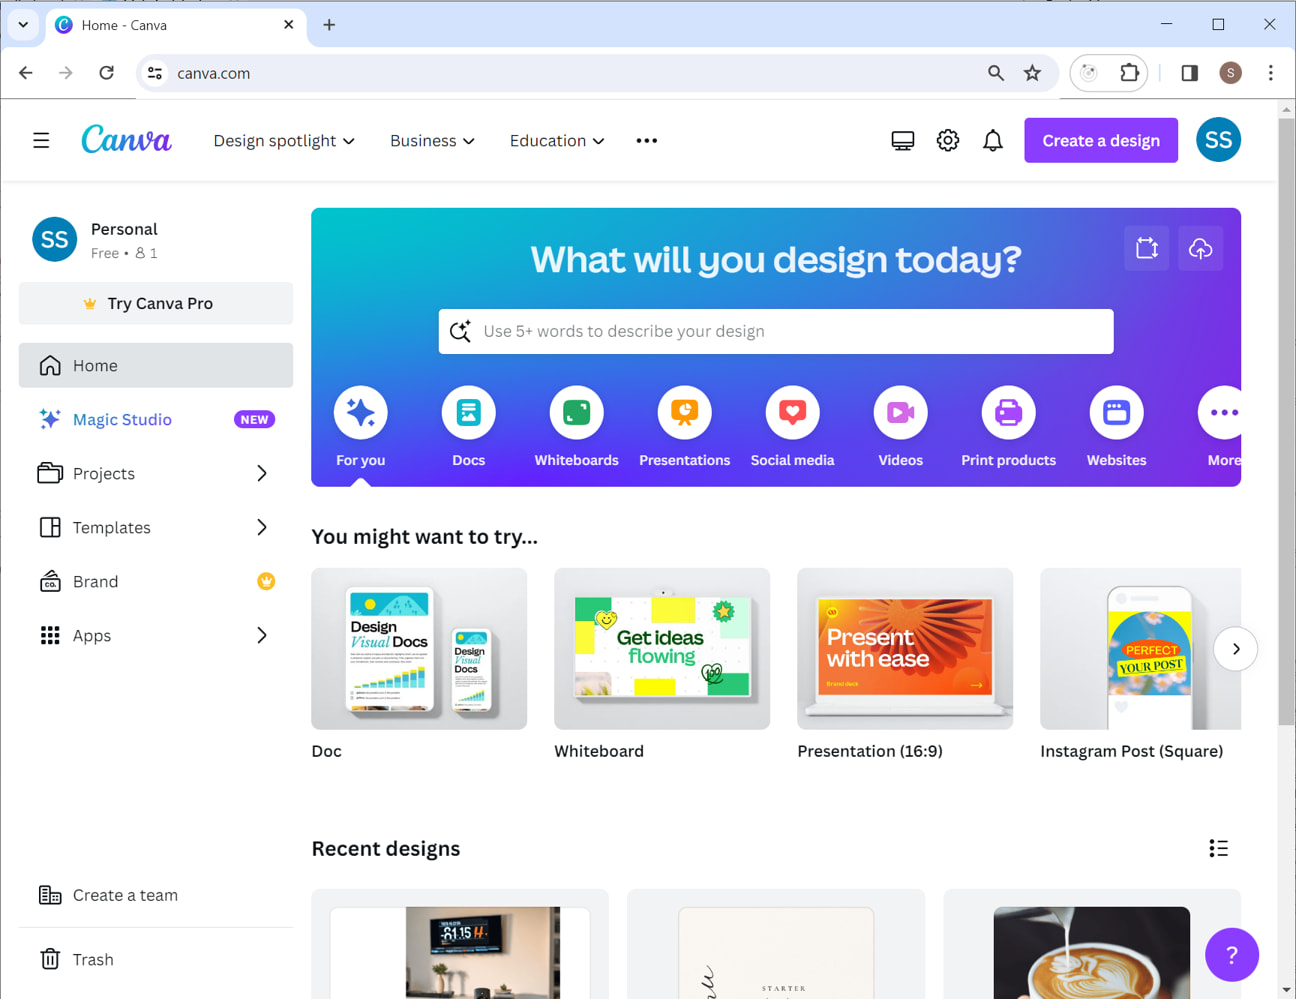
Log in to your Canva account (it is free to create an account if you don’t already have one). Then click the Create a design button.
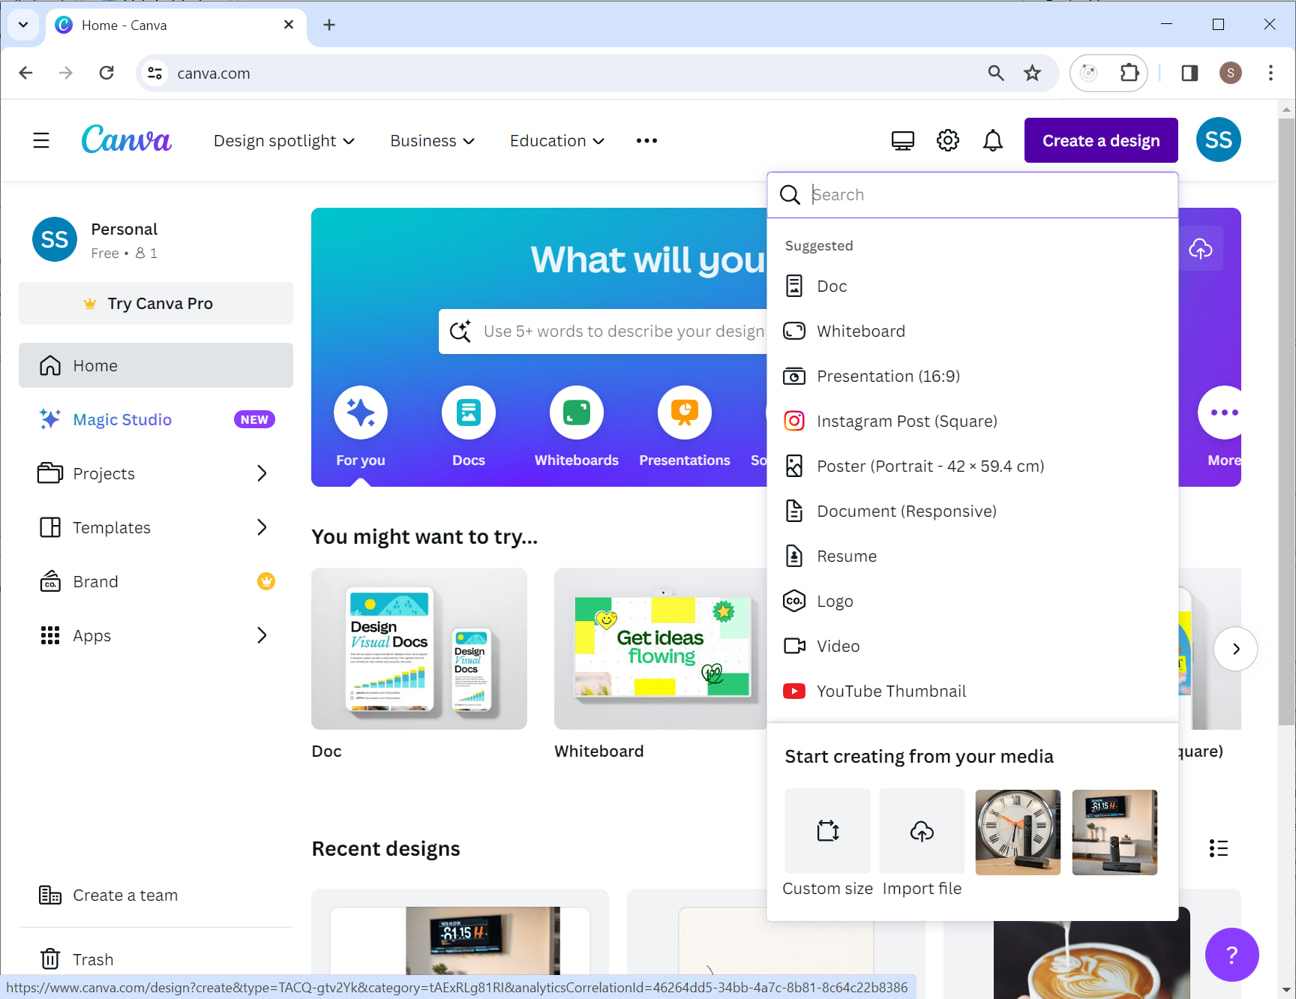
As we are creating content for a screen, choose ‘Custom size’ from the ‘Start creating from your media’ section.
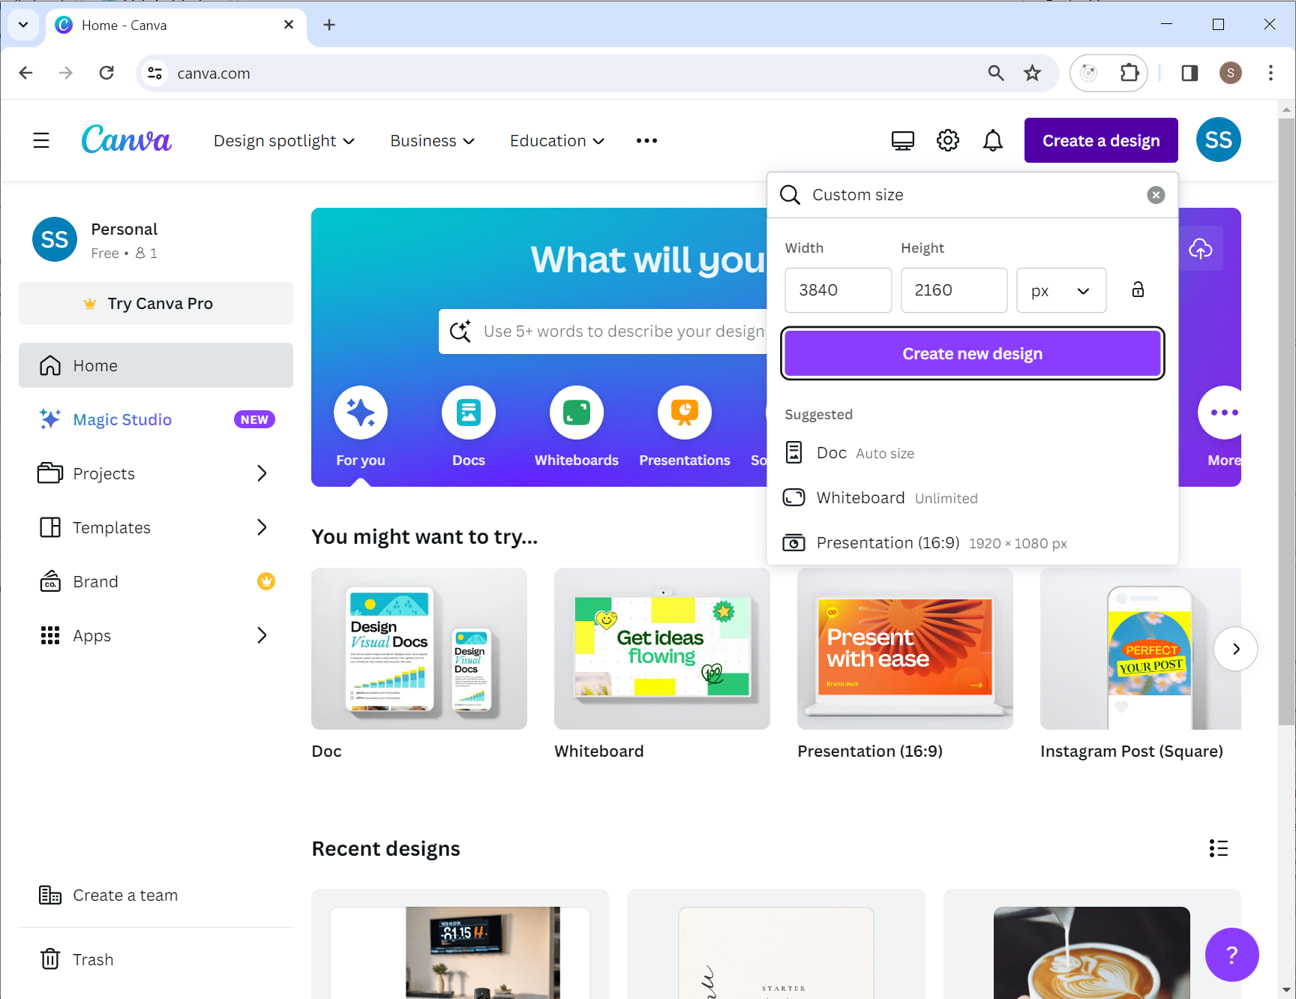
The width and height of your design should match the screen it will be displayed on.
- A full HD screen has a width of 1920 and a height of 1080.
- A 4K screen has a width of 3840 and a height of 2160.
If your screen is in portrait orientation you should swap these figures, so a portrait HD screen has a width 1080 and height of 1920.
In this example, we will be creating content for a 4K screen in landscape orientation so we choose width 3840 and height 2160. Then click Create new design.
Creating the perfect menu board
This is where the fun starts. Choose a template from the many available on Canva and customize it to meet your needs.
In our example we have selected a template that would look fabulous for a menu board in a cafe.
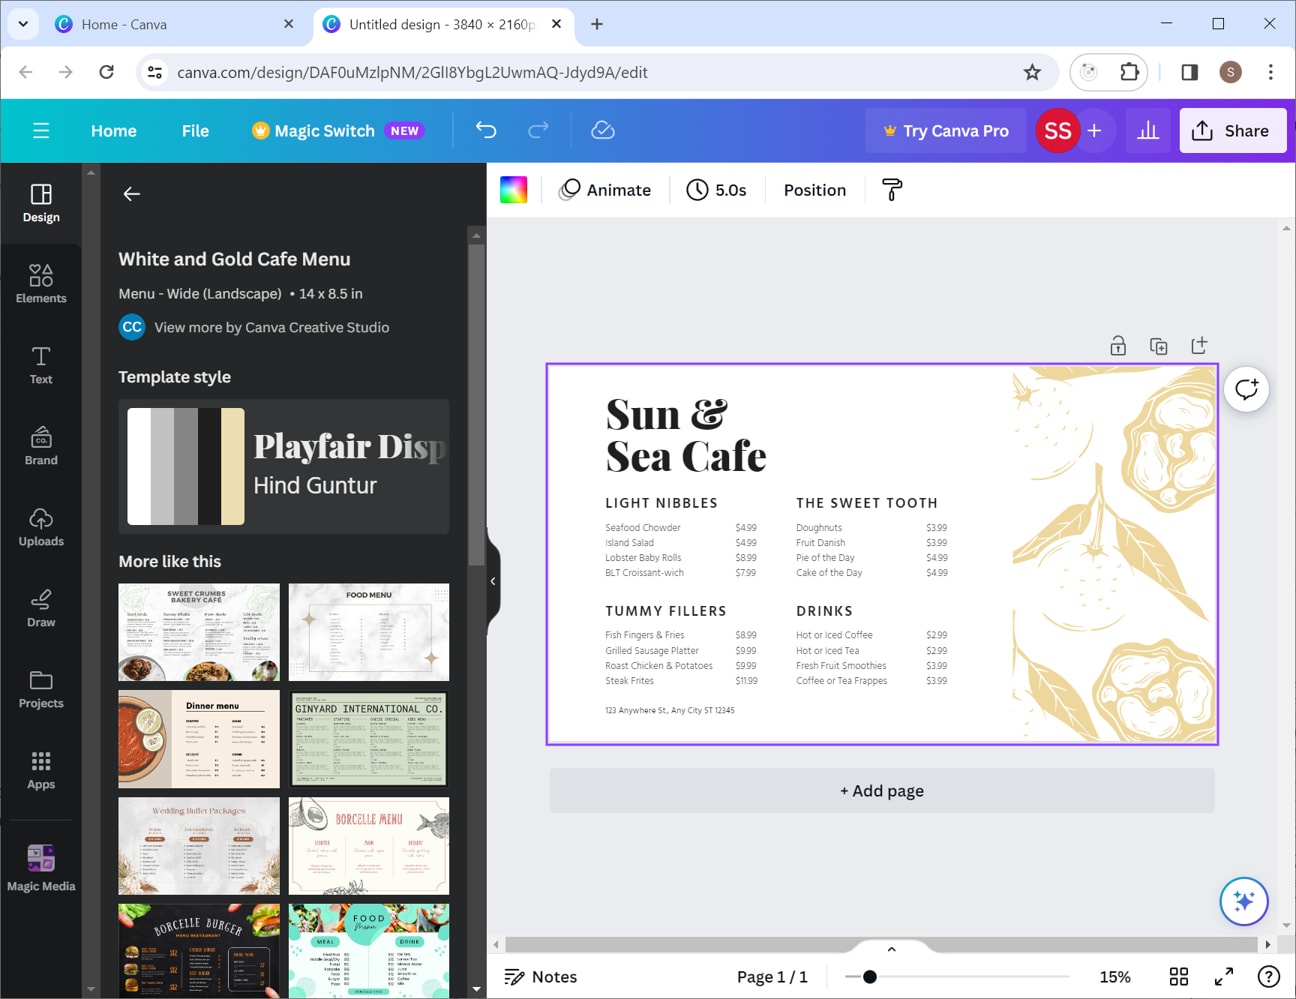
It is so easy to create really great looking content for your digital screens with Canva. When you’ve got it looking just right, we export the design as an image file. To do that click the Share button in the top right of the screen.
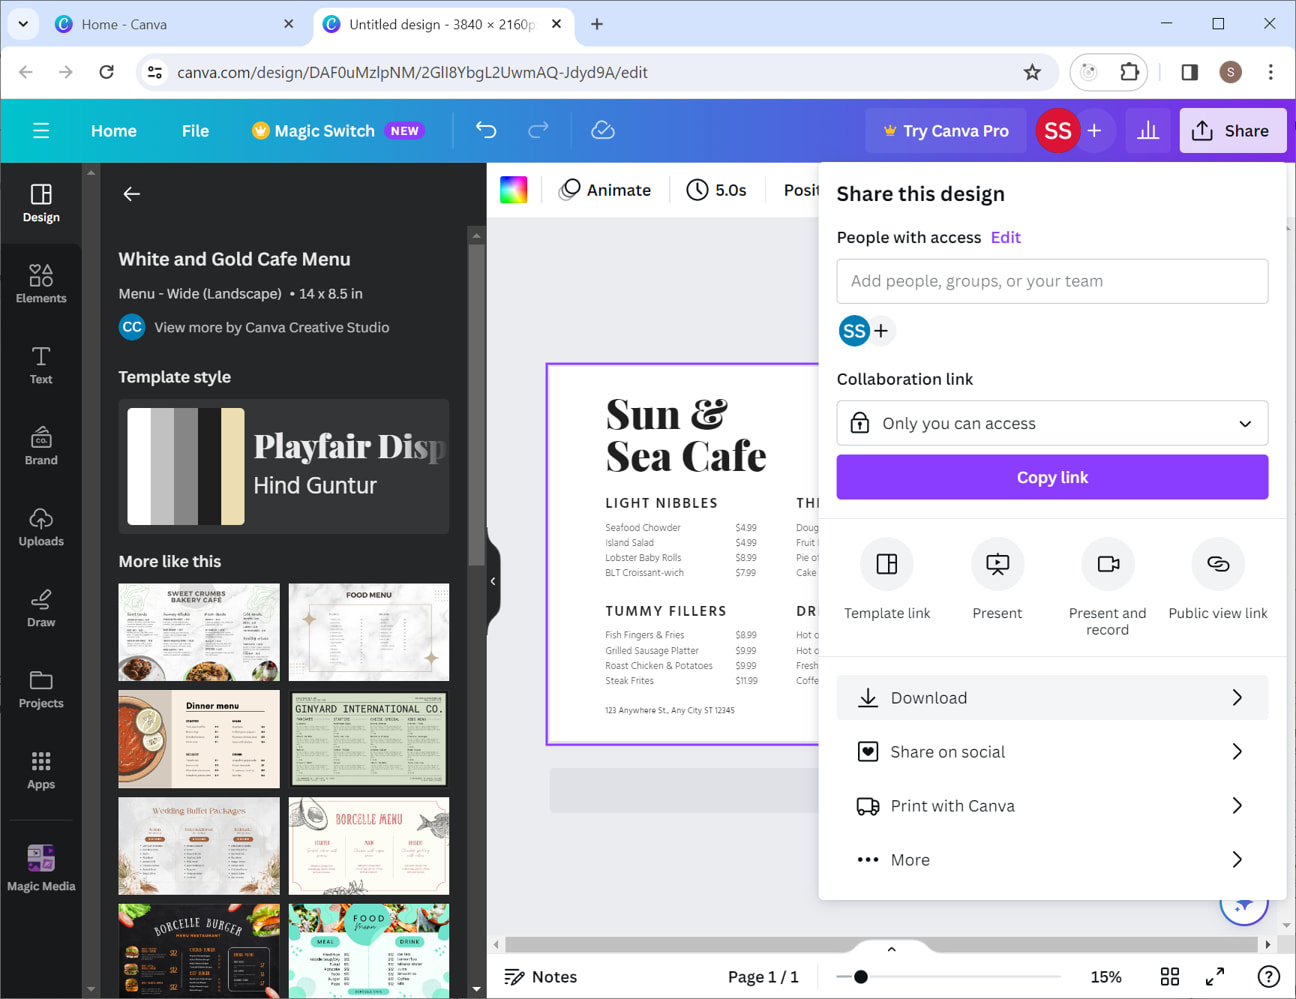
In the Share this design window that pops up, Click on the Download menu item.
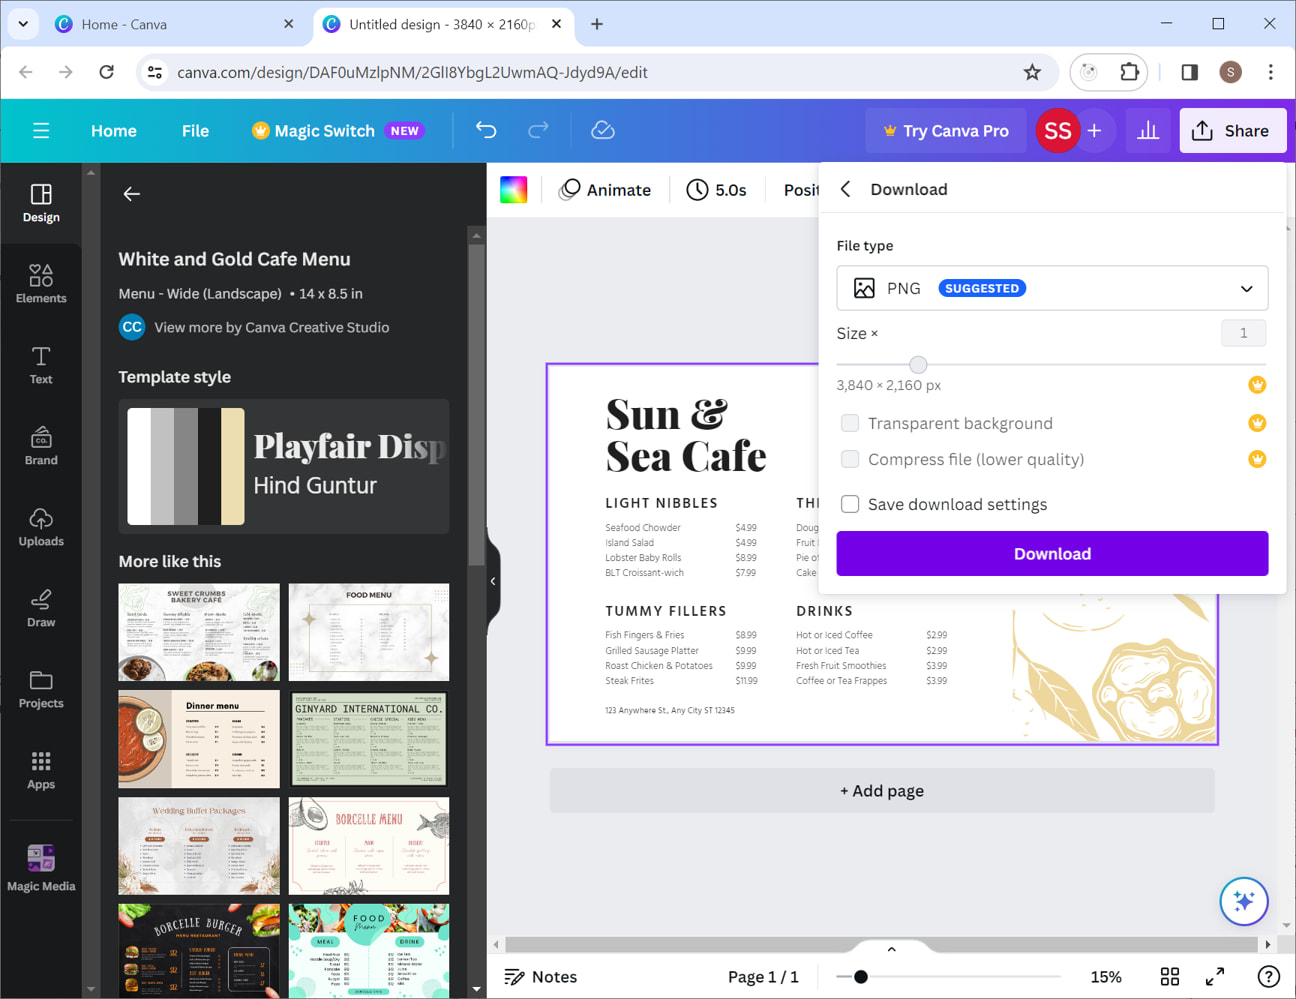
You can choose to download in PNG or JPG format. Both are supported by AbleSign but we suggest using PNG as it offers better quality.
Click the Download button to save your image file on your computer.
That’s it, you’ve created a menu board in Canva.
Displaying your menu board
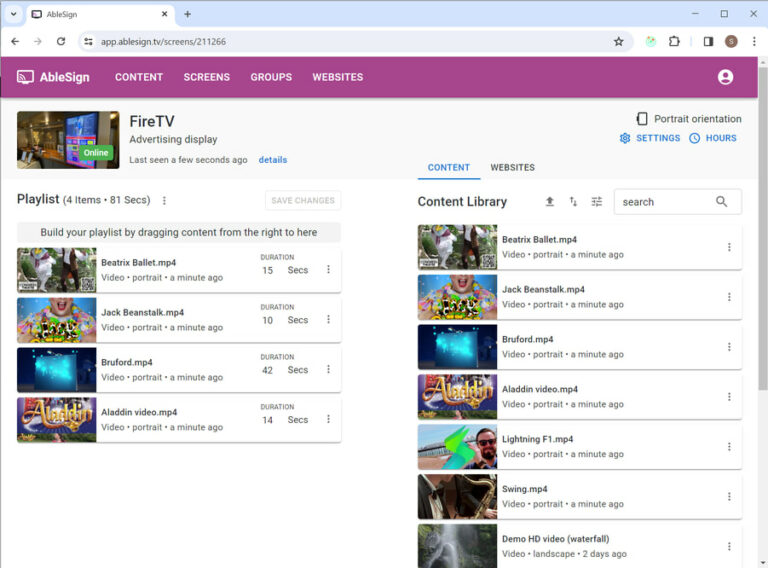
AbleSign is the top rated digital signage software that is simple to use and free – perfect for digital menu boards.
