What can we help you with?
Print

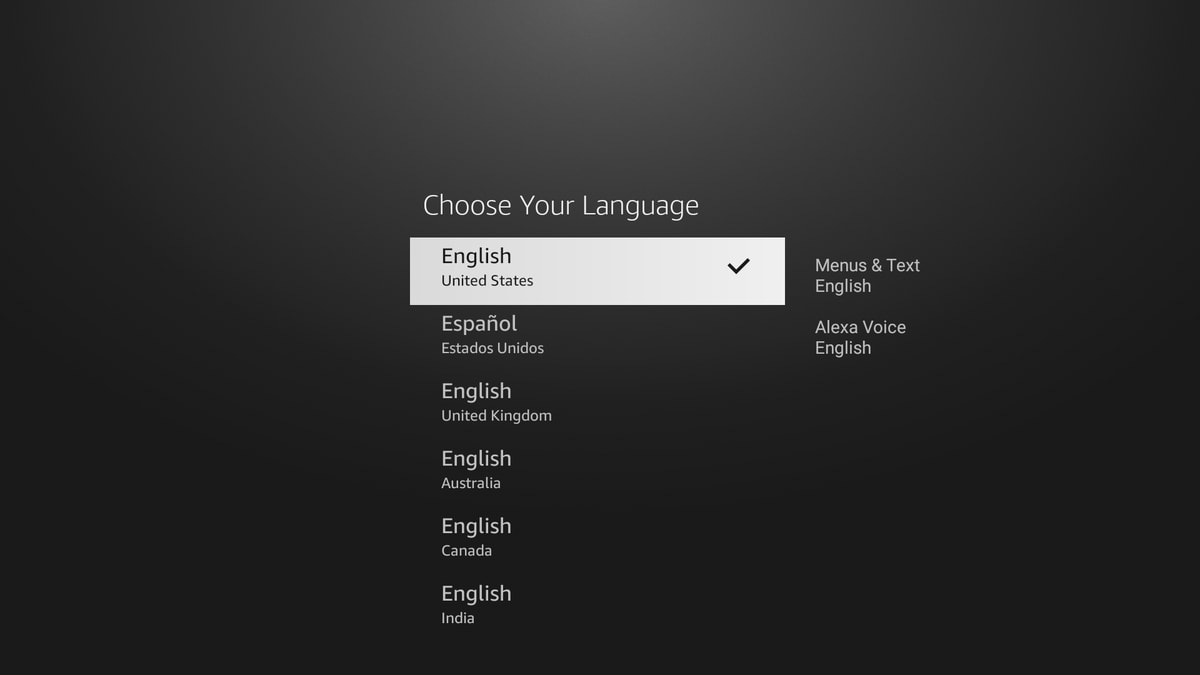
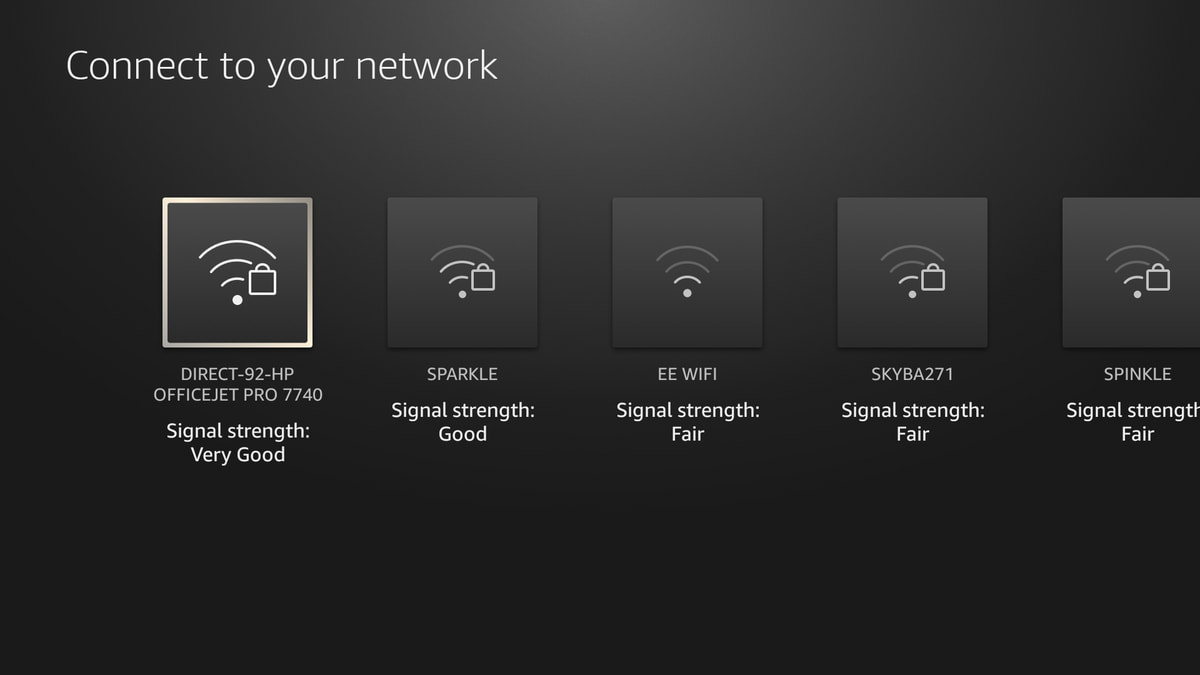
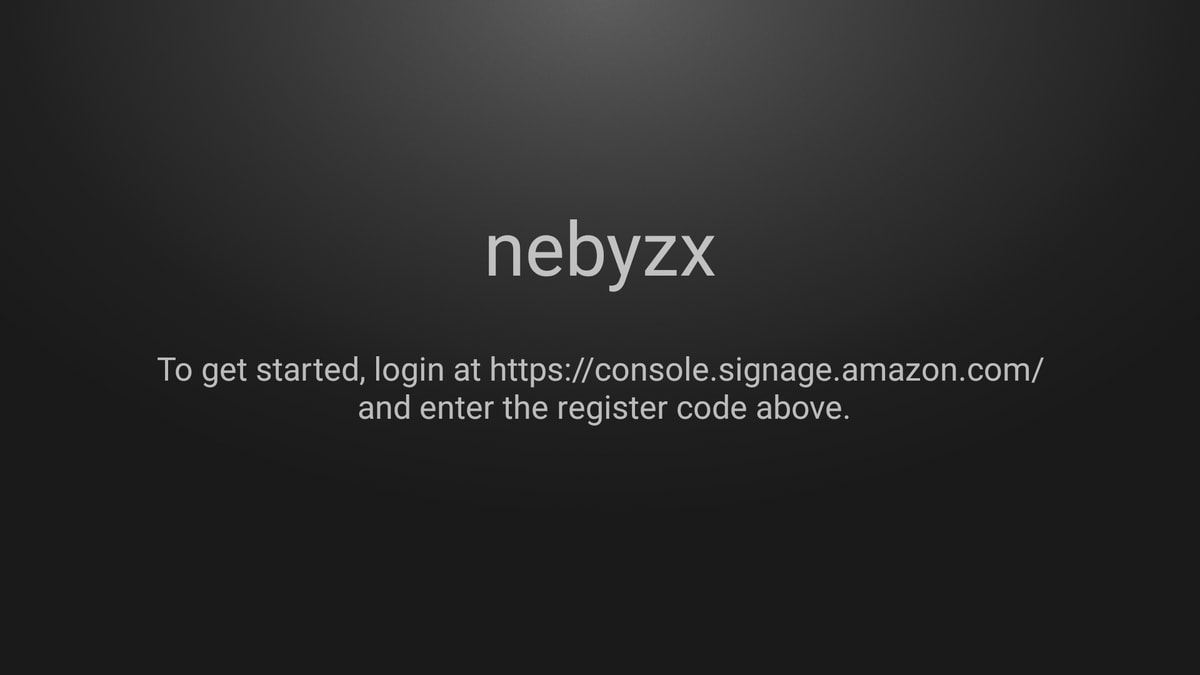
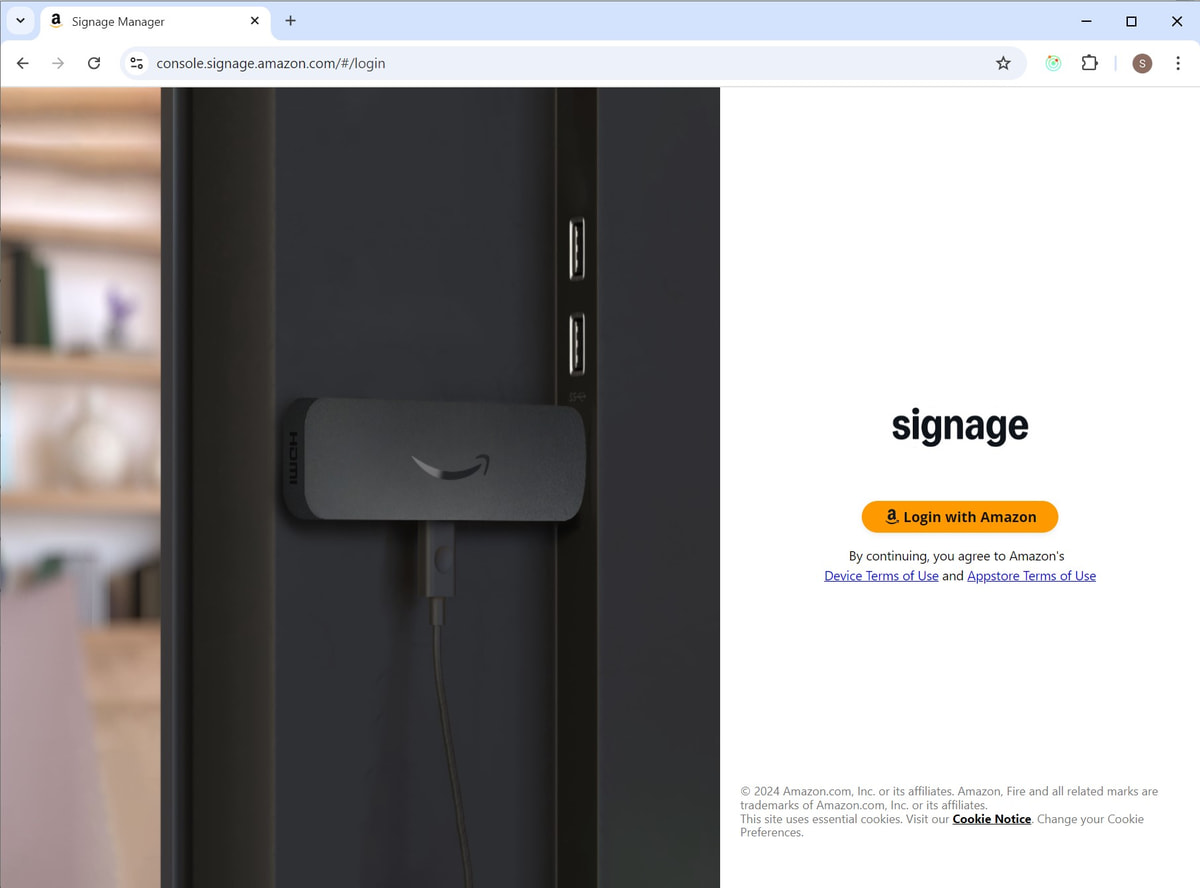
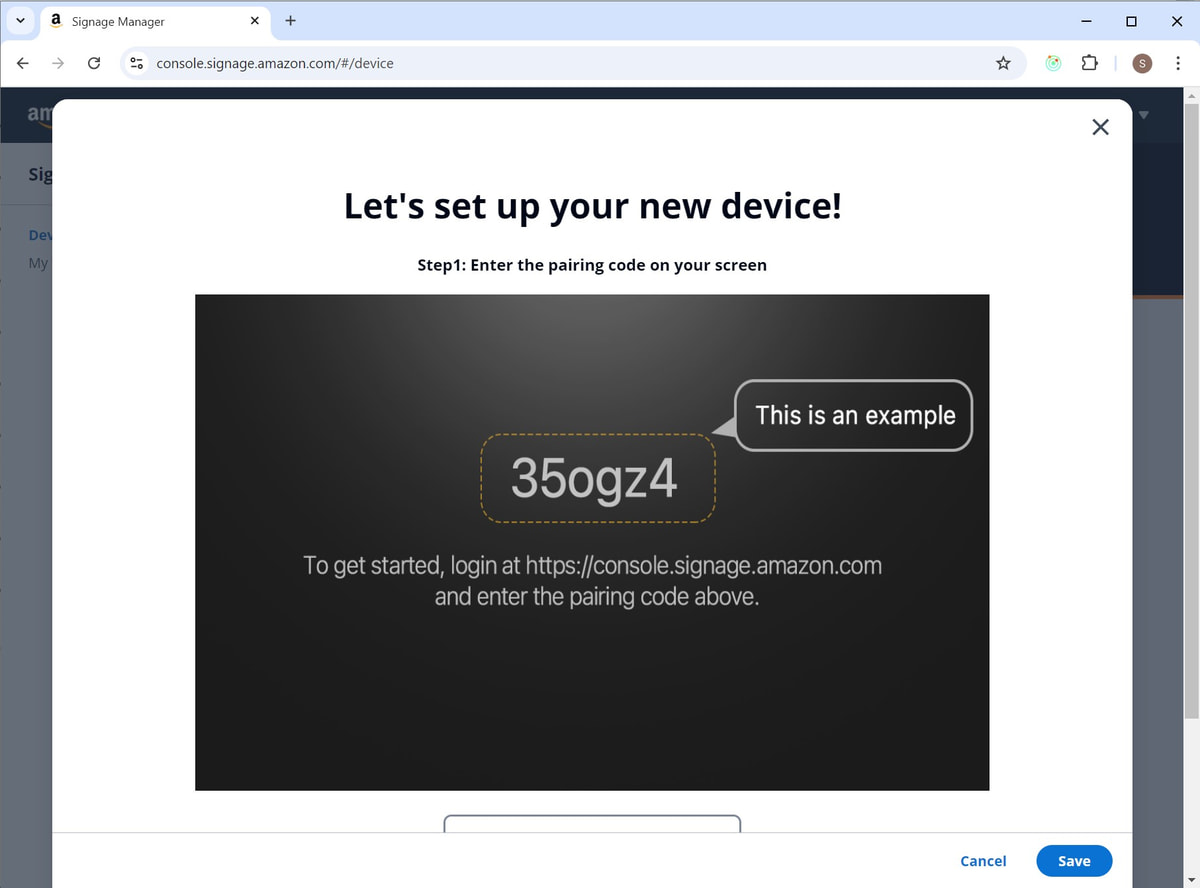
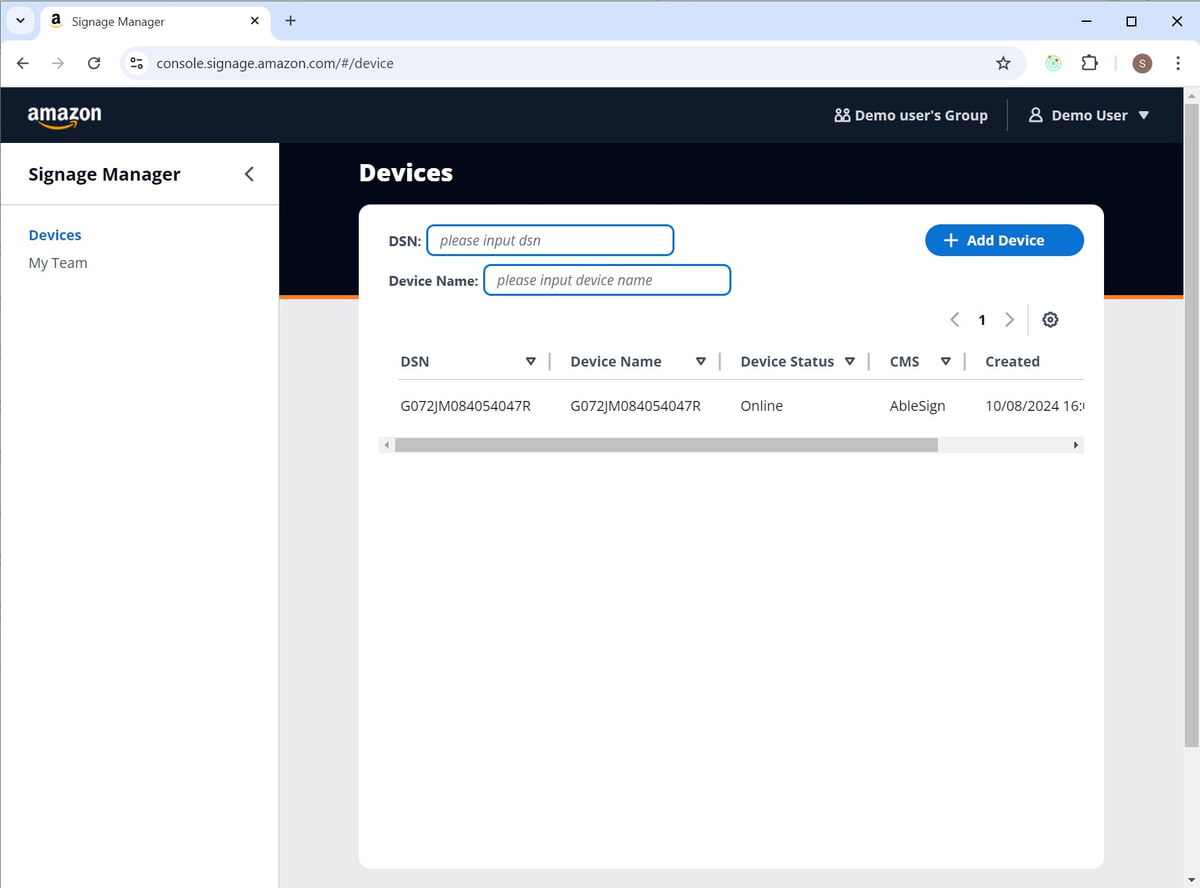
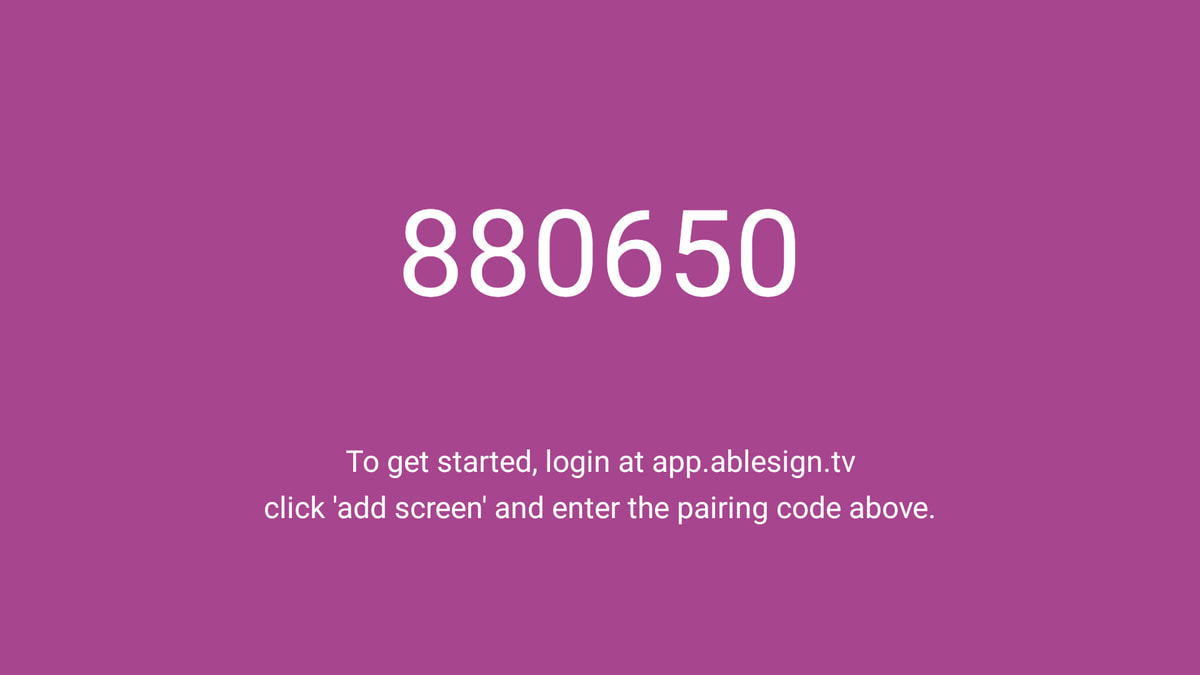
How to setup an Amazon Signage Stick

Amazon Signage Stick

This step-by-step guide shows you to to setup an Amazon Signage Stick. A signage stick is designed specifically for digital signage so setting up and configuring the device is straightforward.

Let’s begin! Power on the Signage Stick and pair the remote if necessary by holding the Home button.

start page

With remote paired, press the Play button to start.

Next, choose your language.

We will now connect the Signage Stick to a wifi network. The device will scan for networks for a few moments.

Select your wi-fi network and enter a password if necessary.

Your Signage Stick will now show a pairing code. 

Amazon provides a Signage Manager console where you can select the signage software (CMS) that you would like to run on the device. You simply need to enter the pairing code displayed on the signage stick, and then select the signage software from a list. 

Head to the URL shown on the screen to continue.

Login to the Signage Manager console. You will need to use an amazon account to do this.

A page will appear to set up your new device. At the bottom of the page is where we will enter our pairing code and choose a content management system (signage software).

Scroll down and enter the pairing code displayed on your Signage Stick, then select AbleSign. Finally click Save.

Your Signage Stick is now configured and will appear in the devices list.

Your Signage Stick will now automatically start installing the AbleSign App. You may notice your device reboot during this process.

After a few moments the device will be ready and display the initial AbleSign page.

That’s it! AbleSign is installed on your Signage Stick. Whenever you power up your Signage Stick it will launch straight in to the AbleSign app.

Now we can setup the screen in AbleSign and start displaying content – please see:

How to setup a new digital signage screen

Was this article helpful?

Yes
No
Thank you for your feedback